COVO KNOWLEDGE
How long does press brake tooling changeover take between jobs?
Published:
Updated:
Measure press brake tooling changeover time through first-part acceptance. Separate tool exchange, setup checks and inspection to target delays.
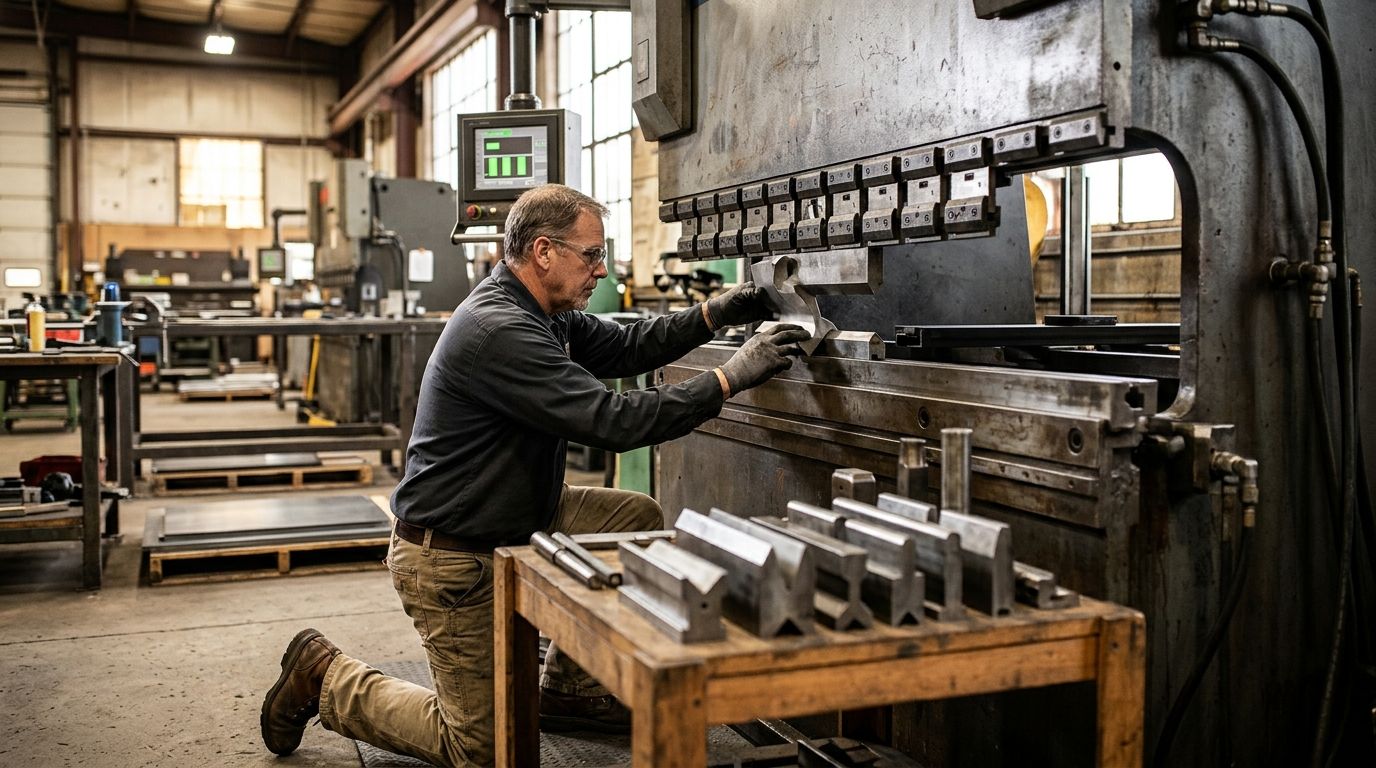
Press brake tooling changeover time has no single fixed duration: measure the interval from the previous job’s last accepted part to the next job’s first accepted part on your machine. Tool removal and installation are only part of that interval; clamping verification, program checks, trial bends and inspection also belong in the changeover record.
- Measure press brake tooling changeover time from the last accepted part to the next first accepted part.
- Separate tool exchange, setup verification and first-part inspection before deciding what to improve.
- Chinacovo manufactures standard and custom press brake tooling; selection starts with the part drawing and machine interface.
- Keep safety, clamping and load checks in the process; reduce searching and repeated setup work instead.
Why this matters
A tool exchange that finishes quickly does not establish that the press brake is ready to produce acceptable parts. If the next job still needs tool-height corrections, bend-sequence changes or inspection, the machine remains in changeover.
For your 2026 production records, use the same start and finish events on every job. Record the physical tooling exchange separately so you can distinguish handling delays from process-development work.
Before comparing replacement tools, verify press brake tooling compatibility before ordering. A matching system description is not a substitute for checking the clamping interface, retention arrangement and installed height.
How long does press brake tooling changeover take between jobs?
The useful duration is your measured last-good-part-to-first-good-part interval, not an assumed allowance for changing punches and dies. Establish that interval with a repeatable sequence:
- Mark the start. Record when the previous job produces its last accepted part. Identify any preparation already completed before that event.
- Record tool exchange. Capture removal, transfer, cleaning, installation and positioning of the required punches and dies. Follow the machine and tooling instructions throughout.
- Record setup verification. Include clamping checks, installed-height confirmation, tool alignment, program selection and backgauge verification.
- Record first-part work. Include controlled trial bends, permitted corrections and inspection against the drawing.
- Mark the finish. Stop the changeover record when the next job’s first part meets the applicable acceptance requirements.
Keep preparation performed while the previous job is running visible in a separate field. Otherwise, moving work away from the stopped machine can appear to eliminate labor when it actually changes when that labor happens.
What should the timing record contain?
Use a job-level record rather than an operator’s recollection at the end of the shift. The record should let another engineer reconstruct what changed and why.
| Record field | What to capture | What it tells you |
|---|---|---|
| Job identity | Part revision, material grade and thickness | Whether the comparison involves equivalent work |
| Tool configuration | Punch, die, segment layout and bend length | How much physical setup changed |
| Machine setup | Clamping interface, installed height and program revision | Whether setup references remained consistent |
| Exchange interval | Removal through completed installation | Time spent changing the physical tooling |
| Verification interval | Setup checks through readiness for trial bending | Time spent confirming the configuration |
| Acceptance interval | Trial bending through first accepted part | Time spent establishing acceptable geometry |
| Delay reason | Missing tool, drawing question, inspection wait or correction | Which action addresses the actual interruption |
Do not combine all delays under “tooling.” A missing segment and an unresolved flange dimension require different corrective actions.
Compare the setup configurations before comparing times
A repeat setup using a documented tool layout is not equivalent to a new part requiring an unverified bend sequence. Classify the work before calculating any average for your 2026 schedule.
The configurations below describe setup approaches, not guaranteed performance levels. Each requires machine-specific verification.
| Setup approach | Best for | Practical advantage | Limitation to check |
|---|---|---|---|
| Retained tool layout | Repeat parts compatible with the installed tooling | Avoids an unnecessary physical exchange | Existing tooling must still satisfy geometry, clearance and load requirements |
| Full-length tool exchange | Jobs using a continuous working length | Provides a straightforward layout to document | Handling method, access and required support need review |
| Sectional tool layout | Changing bend lengths and box-clearance requirements | Lets you assemble working lengths around part geometry | Segment selection, position and fit add setup checks |
| Multiple tooling stations | Parts requiring different compatible forming operations | Keeps required profiles arranged on the machine | Available bed length, station clearance and machine limits constrain the arrangement |
Choose the configuration that satisfies the part and machine requirements before optimizing the exchange sequence. A layout that installs quickly but obstructs a return flange has not reduced usable changeover time.
Retained tooling: verify rather than assume
Keeping the installed punches and dies is appropriate only when the next part’s requirements match the available setup. Check material grade, thickness, required radius, flange geometry and bend length against the process plan.
Retaining tooling removes the exchange task, not the verification task. Program selection, workpiece clearance and first-part acceptance still need attention.
Sectional tooling: document the complete layout
Sectional punches and dies support changing working lengths and clearance requirements. Their setup record should identify segment order, station position and any gaps required by the forming sequence.
Do not treat a collection of individually compatible segments as an automatically acceptable assembly. Verify segment fit, seating, clamping and the applicable load limits for the assembled layout.
Why press brake tooling changeover time varies
These factors explain what to record and inspect; they do not establish a universal time allowance.
- Clamping interface and retention. Tool insertion, seating and retention depend on the actual holder and tooling arrangement. Verify the interface drawing rather than relying on a broad compatibility label.
- Bend length and segment arrangement. A different working length changes the required tools and their positions. Box work also requires clearance for previously formed flanges.
- Installed height and working envelope. Punches, dies, holders and adapters establish the assembled height. Check the available opening, stroke and access against the intended sequence.
- Material and required geometry. Material grade, thickness, radius and flange geometry affect tool selection and first-part verification. A different material specification is not the same setup condition.
- Tool condition and preparation. Dirt, damage, corrosion or unidentified segments create additional work. Inspect tools before they reach the machine rather than discovering problems during installation.
- Program and acceptance requirements. A proven program with a matching setup record differs from an unverified sequence. Inspection requirements also determine when the next job is genuinely ready.
For 2026 improvement work, group changeovers by these conditions. Comparing unrelated setups hides the reason one job takes longer than another.
How do you reduce changeover time without skipping checks?
Move preparation away from the stopped-machine interval; keep safety and acceptance checks in the controlled setup process. Follow the machine manufacturer’s procedures for safeguarding, tool handling, clamping and setup movement.
Prepare the next job
Before the current job ends, confirm that the next drawing revision, material specification and tooling list agree. Assemble the required segments and identify their intended positions without entering the operating machine’s safeguarded area.
Check the following before releasing the tooling kit:
- Correct punch profile and die opening for the approved process.
- Required working length and segment arrangement.
- Tool identification and condition.
- Holder, adapter and retention requirements.
- Handling equipment appropriate to the tooling.
- Setup sheet, program revision and inspection requirements.
Good preparation removes searching and clarification from machine downtime. It does not authorize installation while the machine is operating.
Verify the installed setup
After installation, confirm seating, retention, alignment and installed height according to the applicable instructions. Check workpiece travel and flange clearance through the intended bend sequence before production movement.
Use the same reference points on the setup sheet and at the machine. Ambiguous station locations force the next operator to reconstruct the arrangement rather than repeat it.
Release the first part
Run the approved setup procedure and inspect the required features against the finished-part drawing. Record corrections that affect the repeat setup, including the final tool arrangement and approved program revision.
A corrected part is useful production knowledge only when the correction reaches the controlled record. Otherwise, the same adjustment returns during the next changeover.
Keep tools identified between jobs as well as during setup. Use the guide to storing press brake tooling when reviewing storage, condition checks and retrieval practices.
What should you send for a tooling review?
For a custom tooling request, start with the finished-part drawing rather than a request for a faster exchange alone. Include the machine interface, material grade, thickness and required geometry so the proposed tooling can be reviewed against the actual application.
Chinacovo manufactures standard and custom press brake tooling for sheet-metal fabricators using AMADA, TRUMPF, WILA, LVD and BYSTRONIC systems. That product scope does not establish interchangeability between individual machines, holders or tool profiles.
Your 2026 tooling-review package should include:
- Finished-part drawing and revision, including critical tolerances.
- Material grade, thickness and required bend radius.
- Flange geometry, return features and planned bend sequence.
- Machine identification and relevant operating limits.
- Clamping interface and retention details, supported by drawings.
- Existing holder, adapter and tooling dimensions establishing installed height.
- Required bend length, segment arrangement and handling constraints.
- Current setup record identifying where the changeover is interrupted.
Chinacovo’s custom press brake tooling is relevant when the part requires a geometry-specific tooling review. Custom tooling is not, by itself, evidence of a shorter changeover: evaluate the proposed handling, setup and first-part requirements before changing the process.
Does faster clamping guarantee a faster changeover?
Faster clamping does not guarantee a shorter last-good-part-to-first-good-part interval. Clamping is one task within tool exchange, while program verification, handling and first-part acceptance remain separate tasks.
Record the clamping task independently before changing equipment. If the largest interruption is an incorrect segment kit or an unresolved drawing requirement, changing the clamp does not resolve that interruption.
Should you schedule jobs around the installed tooling?
Schedule compatible jobs together when material, geometry, delivery requirements and the approved process permit it. A shared punch profile alone does not establish that the same die, working length or station arrangement suits every part.
Keep the reason for retaining a setup explicit. You need a verified match to the next job, not merely a desire to avoid removing tools.
FAQ
What is a normal press brake tooling changeover time?
There is no single normal duration that applies to every press brake setup. Measure from the previous job’s last accepted part to the next job’s first accepted part, then separate exchange, verification and acceptance work.
Does changeover time include the first trial bend?
A last-good-part-to-first-good-part changeover record includes trial bending and first-part inspection. Record the physical tool exchange separately if you also need to evaluate handling and installation.
Can I leave the punches and dies installed for the next job?
You can retain installed tooling only after verifying that it satisfies the next job’s approved process. Check material, thickness, radius, flange geometry, bend length, clearances and applicable load limits.
Are sectional tools always faster to change?
Sectional tools are not automatically faster to change. They support different working lengths and clearance arrangements, but segment selection, positioning, seating and clamping still require verification.
What specifications does Chinacovo need for a custom tooling review?
Provide the finished-part drawing, machine interface, material grade, thickness and required geometry. Include installed height, bend length, segment arrangement and the current setup issue so the review addresses the application.
How should I compare changeover results between operators?
Compare equivalent jobs using identical timing boundaries and acceptance requirements. Separate tool availability, configuration changes, program corrections and inspection waits before attributing a difference to the operator.
One last thing
A shorter tool exchange is not a shorter changeover if the first accepted part arrives later. Keep both results visible in your 2026 setup record: physical installation completion and first-part acceptance.
Before requesting different tooling, identify the task you intend to remove or simplify. Send that task with the part drawing and machine specifications; it gives the engineering review a defined problem to solve.
Related guides
- Connecting tooling to a WILA clamping system
- Press brake tooling models and CAD-ready files
- Inspecting press brake dies for wear before reordering
Open this COVO engineering guide · Browse press brake tooling · Request technical support