COVO KNOWLEDGE
How much does hemming tooling cost versus standard tooling?
Published:
Updated:
Compare hemming tooling cost vs standard tooling by bend length, clamping interface, closing load and setup scope before requesting a matched quote.
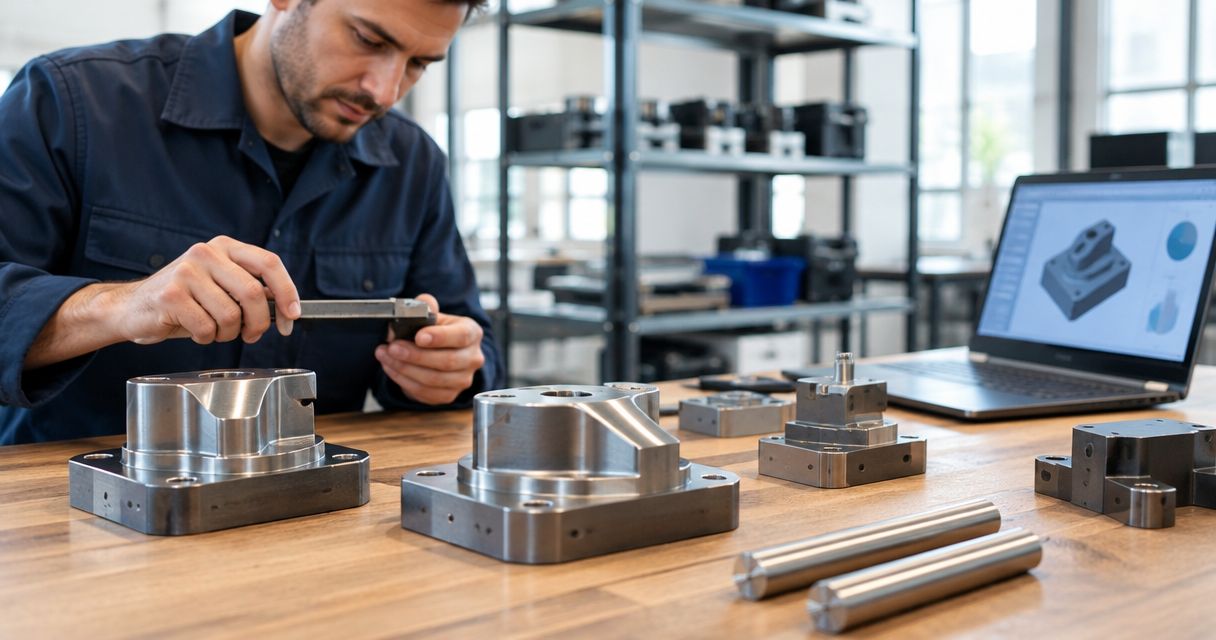
Hemming tooling cost vs standard tooling is a job-specific comparison, not a fixed percentage premium: compare complete tooling packages for the same finished part, machine interface and bend length. The secondary cost is the production work outside the tool itself—pre-bending, tool changes, setup verification and inspection—which belongs in your 2026 purchasing decision.
- Hemming tooling cost vs standard tooling requires matched scope, including pre-bending, closing tools and machine compatibility.
- Standard punches and V-dies form bends; a finished hem also requires a verified closing operation.
- Compare tooling investment separately from setup effort and production time.
- Chinacovo supports standard and custom press brake tooling reviews against part geometry and machine requirements.
Why this matters
Compare an accepted finished part, not an isolated punch or die. A standard bending set and a complete hemming arrangement do not perform identical work. A comparison that ignores the closing operation leaves part of the process outside the purchasing decision.
Start with the finished-part drawing and your existing tooling inventory. Use the press brake tooling compatibility checklist to organize interface checks before requesting alternatives. A tool that fits the holder still needs verification for installed height, working clearance and the intended forming load.
For a 2026 tooling review, separate three decisions: what you already own, what you need to add, and what the completed process requires from the machine. That separation keeps an existing general-purpose set from being compared unfairly with an entirely new hemming package.
How much does hemming tooling cost versus standard tooling?
There is no technically valid universal multiplier between hemming tooling and standard tooling. The comparison changes with the required tool scope: adding a closing tool to an existing setup is a different purchase from specifying a matched pre-bending and closing arrangement.
Request the alternatives against identical material, geometry and acceptance criteria. Ask the supplier to distinguish included components from items supplied by your shop.
| Tooling approach | Best for | What to include in the comparison | Main advantage | Main limitation |
|---|---|---|---|---|
| Standard punch and V-die | General bends without a hem-closing requirement | Punch, die, usable length, segments and compatible holders | Supports general bending work | Does not alone establish a complete hemming process |
| Separate pre-bending and closing tools | Hems produced through separate forming stages | Acute pre-bend tooling, closing tooling and handling between stages | Lets you review each operation separately | Requires verification of both setups and the transfer between them |
| Combined hemming arrangement | Parts suited to an integrated pre-bend and closing sequence | Complete assembly, operating sequence, interface and load limits | Brings the required forming functions into a coordinated arrangement | Requires machine-specific clearance and operating checks |
| Custom hemming tools | Geometry not satisfied by an existing standard arrangement | Part-specific profiles, interface drawings and acceptance requirements | Addresses defined access or geometry constraints | Requires an engineering review before the design is fixed |
The relevant question is not simply which tool has the smaller acquisition commitment. It is which complete arrangement produces the specified hem without leaving adapters, closing tools or essential verification outside the scope.
Standard punches and V-dies: establish the baseline
Best for: general bending where the drawing does not require a closed return. Standard tooling is the correct baseline only when you define exactly what the existing or proposed set can produce.
A conventional 90-degree bend is not the same finished geometry as a hem. An acute pre-bend also remains an intermediate condition until the required closing operation is completed.
Record the punch profile, tip radius, die opening, working length and installed height. Identify whether those tools are already owned, need replacement or belong in the proposed purchase. Do not count an existing tool as a new acquisition in one alternative while excluding equivalent equipment from another.
The advantage is reuse across suitable bending jobs. The limitation is scope: general-purpose tooling does not remove the need to verify hem closure, return-flange access or the loads associated with the intended closing method.
Separate hemming tools: include both forming stages
Best for: work where pre-bending and closing can be planned as separate operations. Compare the acute tooling and closing tooling together, even if your shop already owns part of the arrangement.
A nominal 180-degree return describes the folded-back geometry, but the drawing must still distinguish a flat hem from an open or teardrop form. The required gap, return length and surface condition determine what the process must achieve.
Separate tools let you examine the pre-bend and closing steps independently. The trade-off is additional setup and part-handling work where the selected process requires changing stations or tooling.
Check whether the pre-bent flange can enter the closing tool without interference. Also verify how the part is supported during closure; a geometrically accessible tool is not automatically an acceptable production setup.
Combined and custom hemming tools: verify the complete arrangement
Best for: a defined part family or geometry requiring coordinated forming functions. Evaluate a combined arrangement against its actual operating sequence, not a label suggesting that every hem is completed in a single stroke.
The potential benefit is a coordinated setup for the specified pre-bending and closing work. The limitation is that interface, stroke, clearance and loading requirements must be checked together. An assembly that suits one machine configuration is not automatically interchangeable with another.
Custom tooling becomes relevant when the finished-part drawing exposes a specific limitation: flange interference, restricted access, a required return geometry or an incompatible installed height. Request a design response to that limitation rather than a custom version of an undefined standard tool.
Chinacovo press brake tooling is best for fabricators specifying standard or custom tools from finished-part drawings and machine-interface requirements. The engineering review still needs your material grade, thickness, bend length and required geometry; the manufacturer name alone does not establish suitability.
Why hemming tooling requirements vary
For your 2026 comparison, keep these drivers separate. Each changes the technical scope that the supplier must evaluate:
- Material specification: Supply the material grade, condition and thickness range. The forming assessment must address the actual sheet, not a broad label such as steel or aluminum.
- Hem geometry: Identify a flat, open or teardrop hem and specify the return flange, required gap and relevant radii. Different finished geometries are not equivalent quotation scopes.
- Bend length: State the longest working length and the shorter lengths you run. Tool length, segmentation and loading must match the work.
- Machine interface: Document the clamping interface, holders, retention features and installed height. Include adapters already fitted to the machine.
- Load requirements: Verify pre-bending and closing loads separately against machine, tooling and holder limits. Do not substitute the machine's headline capacity for a complete load review.
- Production requirements: State batch quantities, changeover frequency, surface acceptance and inspection requirements. These define the operating comparison beyond the tooling purchase.
A flat hem and a teardrop hem should therefore receive separate technical treatment, even when the outside dimensions appear similar. The required final section governs the review.
Build a matched tooling comparison
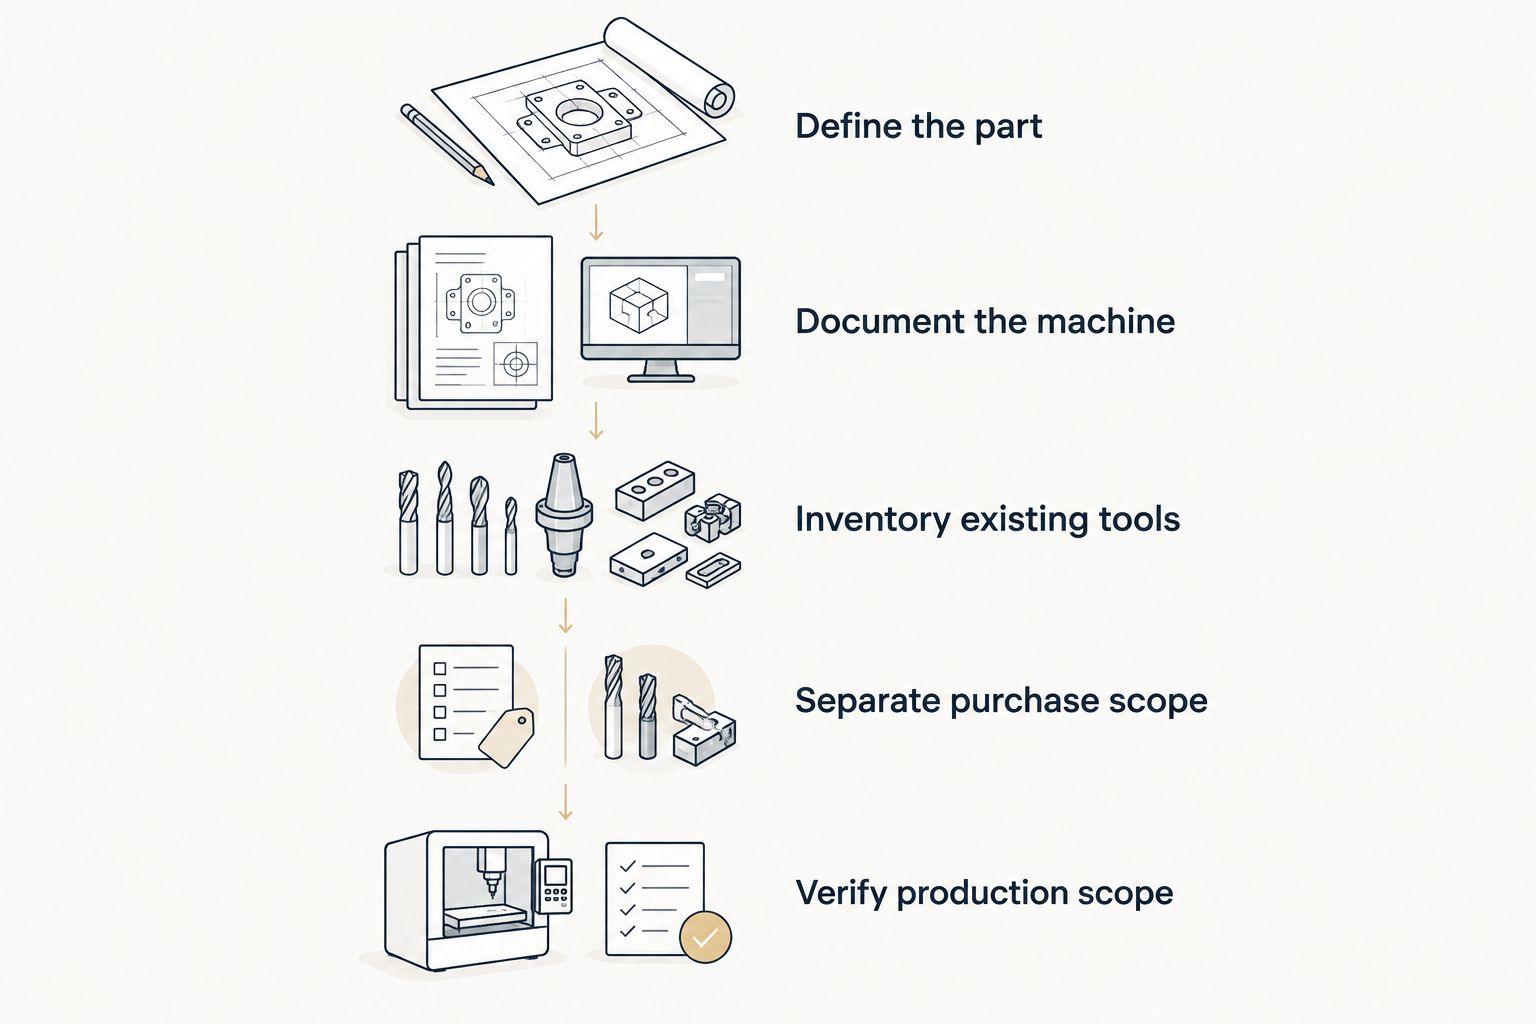
Use the following sequence before requesting a 2026 proposal. Keep the technical information identical across alternatives so that differences in scope remain visible.
1. Define the finished part
Provide the drawing revision, material grade, thickness tolerance, bend length, return-flange dimensions and required hem section. Identify functional dimensions separately from reference dimensions.
State how the completed hem will be accepted. A requirement for a controlled opening is different from a requirement for a flattened return, and cosmetic surfaces need explicit acceptance criteria.
2. Document the machine
Provide the machine model and drawings or verified dimensions of the installed clamping arrangement. Record available stroke, opening, throat constraints and the intended tool stack.
Check the actual machine configuration, including intermediate holders and adapters. A tooling-system name is not a substitute for matching interface details.
3. Inventory existing tools
List the punches, dies, holders and closing tools you intend to reuse. Include their profiles, lengths, installed heights and documented load limits.
Record condition as well as nominal specification. Wear, damage or an uncertain rating requires resolution before an existing tool becomes part of the proposed production method.
4. Separate purchase scope
Ask for an itemized tooling scope that identifies pre-bending tools, closing tools, holders, adapters and required segments. Mark each item as existing, included or separately required.
Do not compare a complete matched assembly against a replacement component. Both alternatives must reach the same defined endpoint: an accepted finished hem.
5. Verify production scope
Document the proposed setup sequence, tool changes, part transfers and inspection steps. Use your own shop observations to compare operating effort rather than assuming that a particular tooling label guarantees faster production.
Keep engineering acceptance separate from purchasing approval. First establish that the arrangement fits and performs the required work; then compare the complete commercial proposals.
The comparison worksheet should preserve every unresolved interface or process question. An unanswered clearance check is not a reason to assume equivalence between the alternatives.
How should you compare production effort?
Compare the complete production route from blank to accepted part. Include setup, pre-bending, closing, handling and inspection, while keeping tooling acquisition separate from recurring shop effort.
A useful worksheet has a row for each operation and columns for machine setup, operator involvement, required tooling and acceptance checks. Populate time fields with measured shop records or an agreed production trial—not a generic expectation about hemming tools.
For a 2026 purchase, compare the expected mix of repeat work and changing parts. A tool selected for one repeat component answers a different production need from a setup intended for varied flange geometries and bend lengths.
Do not assume fewer tool changes means a better overall process. Check part access, safe handling and the ability to meet the drawing before treating the proposed sequence as an improvement.
Can standard tooling make a hem?
A nominal 180-degree return requires more than establishing an acute pre-bend. Standard bending tooling can serve the pre-bending stage where its geometry and ratings are suitable, but the closing operation needs its own verified tooling and load assessment.
Never use a standard punch or V-die as an improvised flattening arrangement without explicit approval for that use. Confirm the proposed contact conditions and loading with the tooling supplier.
When should you request custom hemming tooling?
Request custom engineering when a defined part or machine constraint cannot be satisfied by the reviewed standard arrangement. Examples include return-flange interference, restricted box access or an installed-height mismatch.
Chinacovo's review should begin with that constraint and the finished-part drawing. Supply the relevant section views rather than relying on a photograph of the finished component.
FAQ
Is hemming tooling always more expensive than standard tooling?
There is no universal cost relationship for unmatched tooling scopes. Compare complete arrangements for the same finished hem, including the tools and holders your shop must add.
What should I include in a hemming tooling quote request?
Include the finished-part drawing, material grade, thickness range, bend length, hem geometry and machine-interface details. Identify existing tools and state which components must be included in the proposed arrangement.
Can I use my existing press brake punches for hemming?
Existing punches require a geometry and load review before they are assigned to a hemming process. Suitability for pre-bending does not establish suitability for closing the hem.
Does a combined hemming tool eliminate every tool change?
A combined hemming tool does not establish the complete production sequence by itself. Verify how the specified part is pre-bent, closed, supported and removed on your machine.
Do flat hems and teardrop hems need the same tooling?
Flat hems and teardrop hems require separate geometry checks. Specify the finished section, opening and return-flange requirements before accepting a proposed tool profile.
What should I send Chinacovo for a tooling review?
Send the finished-part drawing, machine-interface information, material grade, thickness and required geometry. Include bend length, installed-height constraints and any existing tools you intend to reuse.
One last thing
Put the acceptance drawing beside the tooling proposal before approving the purchase. Check that the quoted arrangement addresses the finished hem—not just the pre-bend—and that every required holder, adapter and closing component has an assigned source.
For your 2026 decision, the most useful comparison is the complete, verified route to the required part. An attractive component-only proposal remains incomplete until the omitted operations and interfaces are resolved.
Related guides
- Custom press brake tooling for OEM fabricators
- Hemming tools for one-hit hemming press brakes
- Connect hemming tools to a one-hit hemming brake
- Sheet metal hemming tools for aluminum panels
Open this COVO engineering guide · Browse press brake tooling · Request technical support